Our professor/ teacher/ a.k.a. the professional artist was Jody Isaacson, who traveled all the way from New York state to be with us. She was awesome (!) to say the least and a great lady to have around the school for a while. Though she did work with the teachers and staff, most of her time was spent teaching high school and middle school students how to create, design and print their own t-shirts. I was very impressed with how the students' work turned out and they were pretty proud of their creations as well.


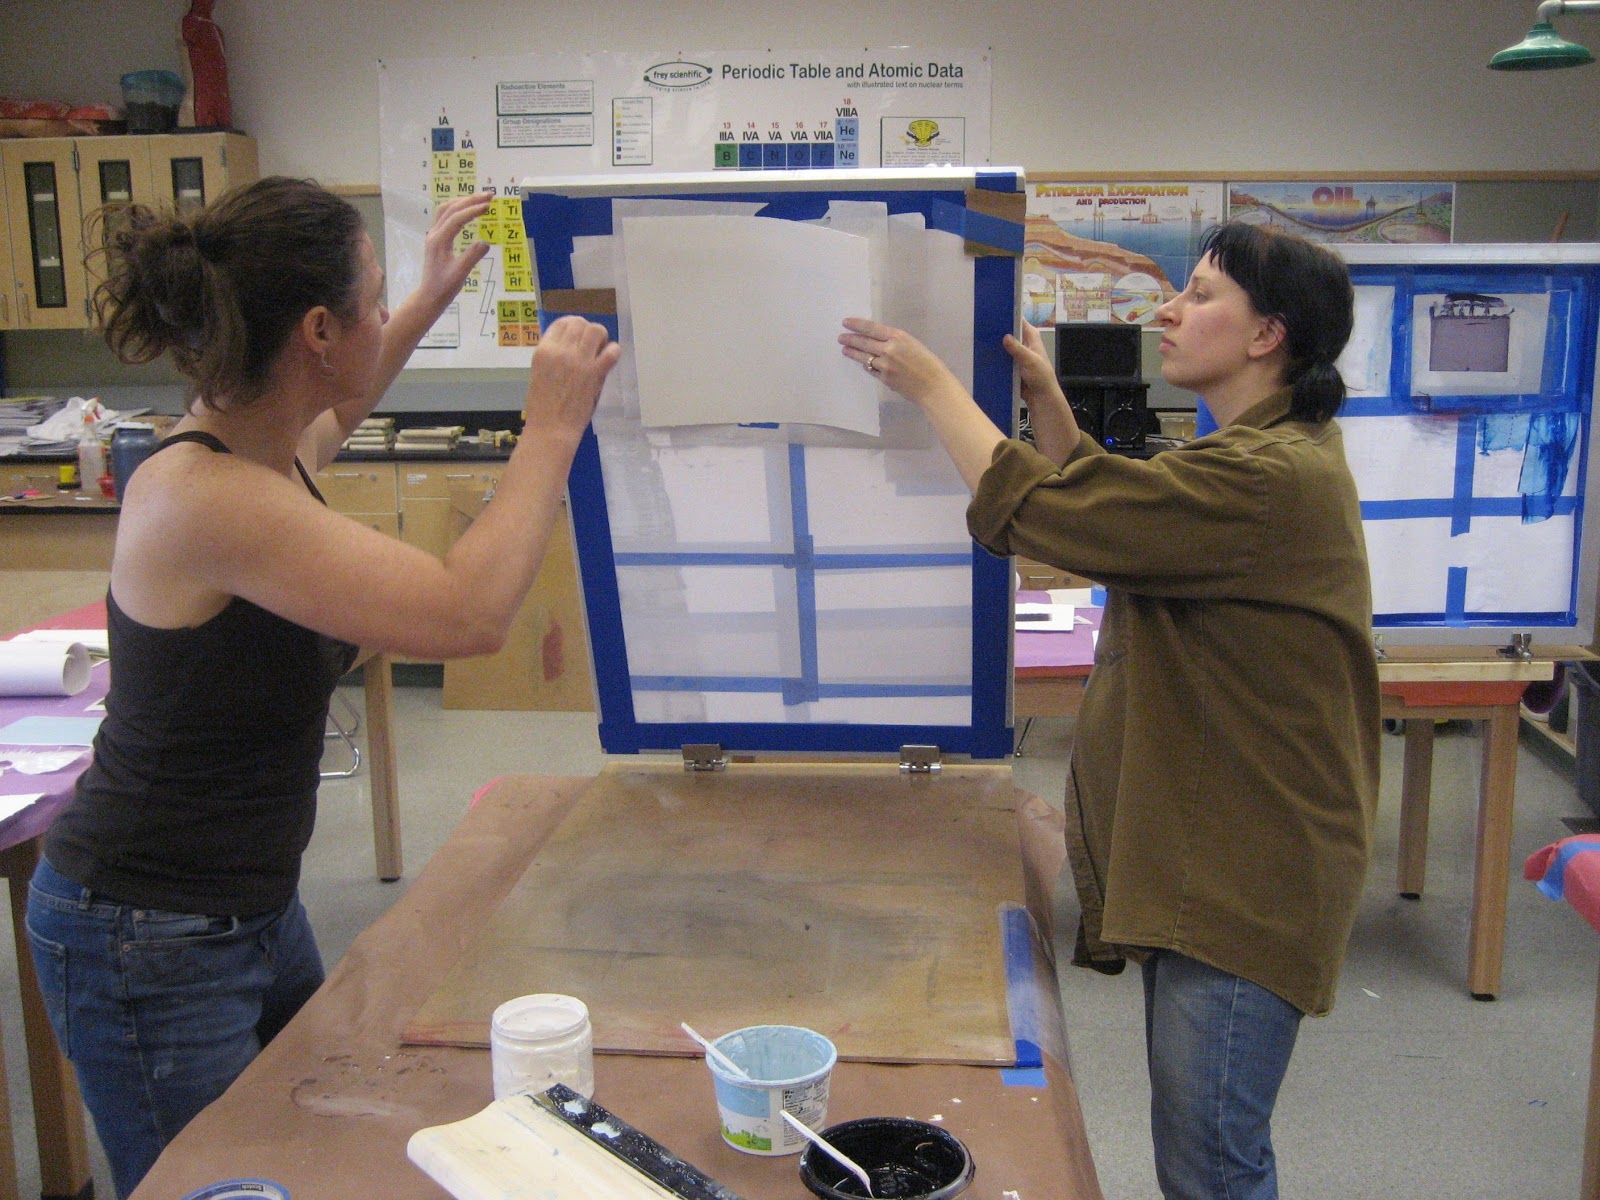
After a long week of working with students, Jody's real challenge began . . . working with the teachers. ;-) We spent one evening and the entire weekend learning silk screening basics and creating our own designs. I decided to get in way over my head and do a rather complicated (well complicated for an amateur) picture on a large piece of fabric. I intended it to be a table cloth but since that didn't exactly work out, I came up with a back up plan. Anyway,
the process:

I started with a concept. This photo, taken in Teller looking toward Brevig, was my inspiration.
I then created stencils for each "layer" of the picture. One for the sky, one for the water, one for mountains, rocks and lastly grass.
First I printed the image onto newspaper print to see that it was indeed what I was envisioning. Then the image was printed on the registration that was used as a guide for placing . . . bleh, never mind, it's too hard to explain. It just went something like this:


"Ta-da"

My final product:
on paper

on fabric

So instead of using it as a table cloth, my vision for the fabric images (there are 3 total like the one above) is to have C.O. make me some wooden backs the exact size of the picture and have the fabric wrapped around the wooden boards. Each picture turned out slightly different so I think the three of them displayed together would look kind of neat.
I'm fairly happy with how it turned out. I had a lot of frustrations along the way to be honest, but in the end it was worth it. It worked out as well as it did due to Jody's patience and positive, constructive feedback along the way. My coworkers were also very kind and lent a hand when they could. Thanks everyone!

~AnnMarie
5 comments:
I think the grass came out PERFECT! Mind if I steal a few of your blog ideas?
Steal away Barn. I'd feel honored. :D
~AnnMarie
Great job, hon! Reminds me of the old 4-H days when some projects were way more work than we planned. Wish I could have taken the class, too. Really, an artist from New York! And people think you are so isolated up there.
Mom
Fantastic results for a first timer... I've wanted to silkscreen for a LONG time, have read tons, bought some supplies and have never made the leap. Way to go.
Thanks Mom, Colleen & Barnabas!
Colleen- I'd have a hard time getting motivated to start it all on my own. It's pretty involved.
Mom-- Yes the good old days of 4-H projects, learned a lot from them to be honest.
~AnnMarie
Post a Comment